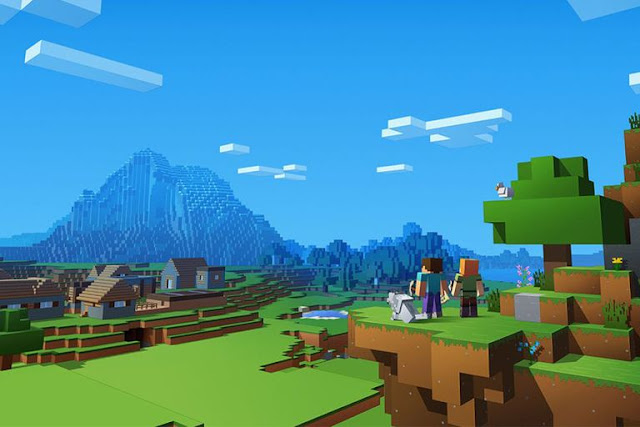
There’s no doubt that Minecraft is surely the best crafting game where players from all over the world have the opportunity to craft on a huge number of terrains. Crafting the simplest things can be quite complicated and takes a lot of time but when you’re teaming up with your friends then the most challenging crafts will seem a lot easier.
There are a handful of ways that you can try to play with your friends but the best option is to set up your own server. Setting up a Minecraft server is no rocket science but if you have a week internet connection or low-spec PC then I’d recommend renting a hosting. If you have no idea where to find the best hosting for yourself then this guide will come in handy.
Looking to have a fun time with your friends? Set up your own server and enjoy crafting many unique things in Minecraft. The best thing about having your own server is that you could easily modify the settings and enhance your crafting experience. If you’re doing this for the first time and have no idea how to set up the server then our guide will make things quite easier for you.
First of all, go to the single-player option and start-off with a new world. You could easily customize the word settings from the first screen and the single-player world is spawn. Now to upload this world onto the server, go to the desktop and search of %appdata% in ‘Run.Exe’. There you’ll see a Minecraft folder. Now open the folder and look for the ‘Saves’ folder, there you will see a world that you’re currently playing in.
Compress the save world using Winrar and rename the folder to the ‘world’. Once you’ve followed all these steps then you will need a solid hosting that your server will be running in. There are many decent Minecraft hostings in the market but TechRadar’s and WhoIsHostingThis have some pretty good recommendations that you should probably check.
I’d recommend going forward with the most reliable one but it really depends on your budget. Once you’ve selected the desired hosting then you can go ahead and upload the .rar file on the hosting. The server will be live after that and you can invite your friends to play with you.
Inviting your friends to the server is actually quite easy. All you will need to do is search for ‘What’s my IP’ in the Google search bar and your IP will appear on the screen. Copy the IP and send it to your friends and then they can easily join the server.
When buying the hosting, make sure to have more slots for players if you’re going to invite a lot of friends but if you’re only playing with a handful of friends then a few slots will be more than enough.
Confused about something? Hit us up and we’ll come to the rescue.
That’s all folks!

.png)


No comments:
Post a Comment